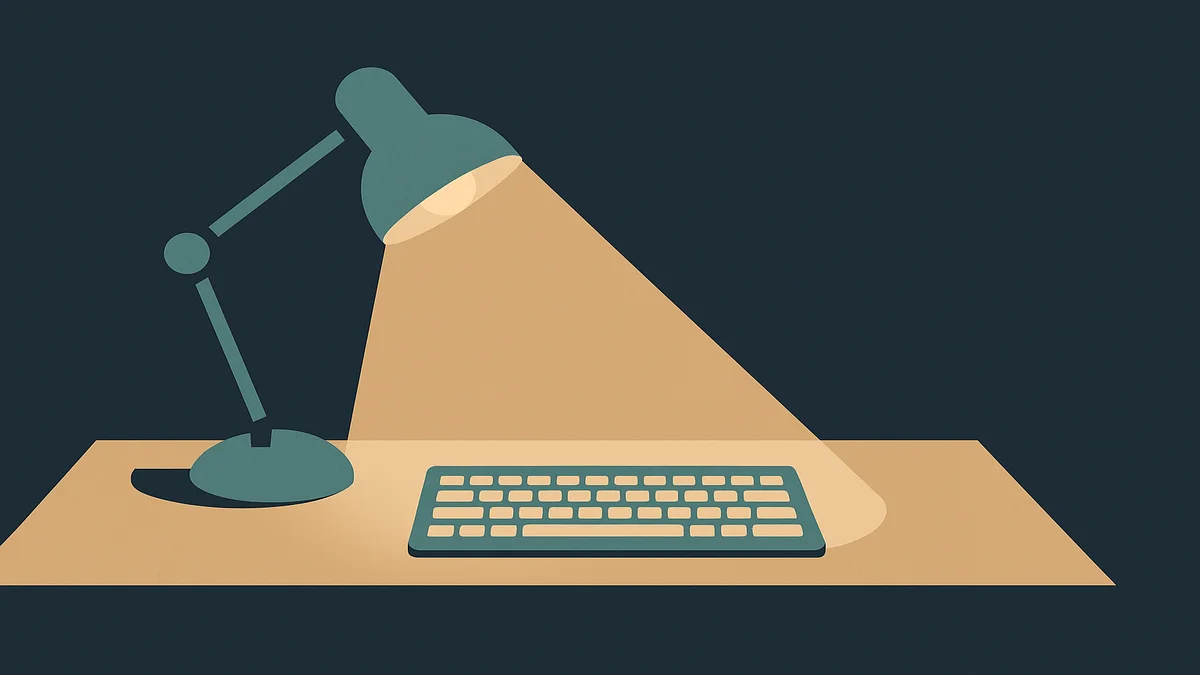
Home Office Lighting
Sub-hub of home office — part of The Remote Innovator

Home office lighting: start here
If you only do three things, do these: get your screen and the room behind it to a similar brightness, put your main light in front of or above the screen rather than behind you, and shift toward warmer light in the evening and cooler, daylight-style light during the workday. That combination fixes most eye strain and most bad webcam footage in one pass.
Key subtopics and decisions
Home office lighting looks intimidating until you break it into three decisions instead of one shopping decision. Here’s how I think about each.
The three-layer model: ambient, task, accent
Everything in your lighting setup belongs to one of three layers, and most home offices are missing at least one of them.
- Ambient lighting is the general room light — ceiling fixtures, a floor lamp, or daylight through a window. Its job is to keep the room from becoming a dark cave around one bright desk lamp. That contrast between a bright screen and a dark wall behind it is one of the biggest hidden causes of eye fatigue in home offices, and the fix is usually just “light the room more evenly.”
- Task lighting is the focused light on your actual work surface: a monitor light bar, a desk lamp, or both. This is the layer that determines whether you can read a paper next to your keyboard at 4 p.m. in winter without squinting.
- Accent lighting is the light that shapes what your webcam sees — a lamp behind or beside you pointed at the wall, a soft backlight behind the monitor. It’s purely for video calls and for making your background feel intentional rather than like a void.
You don’t need all three at full strength. But when something looks or feels wrong — eyes tired, or your face a shadowed smear on camera — the diagnosis almost always maps to one of these layers being absent.
Monitor light bars vs desk lamps
This is the central equipment decision, and the honest answer is that they solve different problems.
A monitor light bar clamps or rests on top of your screen and throws light forward and downward onto your desk in an asymmetric beam — bright on the desk, dim on the screen. That design exists specifically to kill screen glare, and it also frees up the footprint a lamp base would take. The tradeoffs: your monitor has to cooperate with the mounting mechanism (curved and ultrawide screens can be finicky), and it lights the desk, not the room or your face.
A desk lamp is more flexible. You can angle it, move it for paper-based work, use it as an accent light in a pinch, and there’s no compatibility question at all. The tradeoff is that a badly aimed lamp is exactly what causes screen glare and monitor reflections, and a lamp arm sitting next to a monitor-mounted webcam is real estate many desks don’t have.
A detailed monitor light bar vs desk lamp comparison is planned as a dedicated page in this sub-hub — in short, if your main complaint is screen glare on a standard monitor, a light bar is the cleaner fix; if you need versatile light for paper, sketching, or calls, keep the lamp.
Color temperature (kelvin) and brightness (lumens)
Two numbers describe almost everything you need to know about any light you buy.
Kelvin (K) is the color of the light. Around 2700K–3000K reads warm and relaxed — right for evenings. 3500K–4500K is neutral white, a comfortable default for focused desk work. 5000K and above reads as cool, daylight-style light — alerting during the day, harsh at night. Many monitor light bars and smart bulbs span 2700K–6500K so you can shift through the day instead of committing to one temperature.
Lumens is how much light a source produces. For desk-level task lighting, roughly 450–500 lumens is a sensible baseline for reading, writing, and computer work — but lumens on the box don’t tell you how much light actually lands on your desk, which depends on the fixture’s design and distance. The target people usually cite for desk work is around 500 lux at the work surface; a light bar or lamp rated around that level, with a dimmer, gets you there without overshooting.
The practical takeaway: prioritize a dimmer and a tunable temperature over raw brightness. Your needs at 9 a.m. and 9 p.m. are not the same, and a single fixed, bright, cool light will be wrong for one of those.
Glare management and window placement
Glare is light arriving from a direction your eyes and screen didn’t agree to. The two usual suspects:
- A window behind you turns your screen into a mirror and your webcam silhouette into a witness-protection photo. Face the window or put it 90 degrees to your side instead.
- A light source behind your monitor aimed at the screen — a bare bulb overhead, a lamp pointed the wrong way — causes reflections you fight all day without consciously identifying.
The fixes are positional, not expensive: side-light from a window, indirect light on the wall behind the monitor, and a screen-adjacent light (like a light bar) designed to illuminate the desk without washing the panel. If you can see a bright reflection of a light source in your screen when it’s off, that’s the exact spot to move light away from.
Also worth remembering: your pupils adapt to the brightest thing in view. When the screen is the brightest surface, your eyes work harder across everything else. Bringing the room’s brightness closer to the screen’s is the cheapest eye-comfort upgrade in this whole sub-hub.
Lighting for video calls
Your webcam wants your face evenly lit from the front at roughly the same brightness as the background it’s looking at. The common failures, in order of frequency: face lit by the ceiling behind you (backlit, shadowed), face lit from one side by a window (half-lit), and face lit by a lamp below chin level ( campfire horror look).
What works: a soft light source in front of you at face height or slightly above — a window you face, a lamp bounced off the wall in front, or a monitor light bar’s front illumination plus a small accent light to lift the background out of darkness. Avoid pointing any light directly at your face at close range; aim it at a wall or use a diffuser so the light you receive is even.
Planned deep dives
This hub covers the framework. Three dedicated pages are planned to go deeper, each on its own:
- Monitor light bars — how asymmetric optics work, curved and ultrawide compatibility, and where they fall short. (Planned.)
- Desk lamps — arm types, positioning, and what makes a lamp good for long work sessions specifically. (Planned.)
- Video call lighting — a build-out of the section above with setups for different rooms and budgets. (Planned.)
Until those publish, this page is the complete map — and the section below covers the products that anchor all three.
Recommended tools, products and methods
Four tool categories cover nearly every home office lighting need. One-line “why” for each:
- Monitor light bars — The most direct fix for screen glare and desk shadows in one device. The BenQ ScreenBar line is the category benchmark: the ScreenBar Plus uses a built-in ambient light sensor to auto-adjust output toward roughly 500 lux on the desk, and the newer ScreenBar Halo / Halo 2 models add a separate backlight behind the monitor and tunable color temperature across roughly 2700K–6500K, which covers both the daytime and evening settings discussed above. Pricing for the line runs roughly from the low $100s to around $290 depending on model — check current prices, they move. If a light bar appeals but BenQ’s price doesn’t, brands like Quntis, Logitech (Litra line), and Baseus make well-regarded alternatives at lower price points, generally with fewer refinements in the optical design and controls. (A dedicated monitor light bars page with a proper alternatives breakdown is planned.)
- Adjustable desk lamps — The flexible workhorse: angle the head, move the arm, dim the output. Look for an articulating arm, a dimmer, and tunable white (2700K–5000K) so one lamp serves paper work by day and ambient evening light. Positioning matters more than the model — see the guide below.
- Bias lighting / LED strips — A low-intensity light strip behind the monitor that raises the brightness of the wall around your screen. This is the classic fix for the dark-wall-vs-bright-screen contrast problem, it makes glare less noticeable by shrinking the brightness ratio your eyes manage, and a bias light doubles as background lighting for video calls. Keep it dim and neutral-to-warm; a saturated RGB glow is a vibe choice, not an eye-comfort one.
- Smart bulbs — The cheapest way to automate the warm-at-night / cool-by-day shift in your ambient layer. Set scenes (or schedules tied to sunrise/sunset) so the room temperature changes without you thinking about it. Pairing smart bulbs in the room with a tunable task light gives you full control of both the brightness balance and the temperature rhythm.
What I’d skip: novelty “sun lamps” marketed for focus without tunability, and any task light without a dimmer. Fixed-brightness, fixed-temperature lights are the reason people end up with a setup that’s wrong half of every day.
How to choose the right approach
Diagnose the problem first, buy second. Match your symptom to the layer that’s missing:
- Eyes feel strained or dry by mid-afternoon → You almost certainly have the bright-screen-dark-room problem. Add task lighting at desk level (a monitor light bar or correctly placed lamp) plus a bias light behind the screen to bring the background brightness up. This two-light combo is the highest-value fix in home office lighting.
- You look bad on video calls → Your accent layer is missing. Add a soft light in front of you and something low-intensity behind the monitor to lift the background. You may also be sitting with a window behind you — fix the position before buying anything.
- Daytime drowsiness, especially in winter or a windowless room → Your ambient layer is too dim and too warm for daytime work. Get daylight exposure: face a window if you can, raise the ambient light, and shift your task light toward the cooler end (4500K–5000K) for morning and midday. (Note: this is about comfort and alertness, not medical treatment — light-therapy advice for conditions like SAD belongs with a clinician.)
- Everything feels glaring, especially at night → Too much contrast in the wrong direction. Dim the task light, warm it down below 3000K after sunset, and make sure no bare light source is visible in your peripheral vision or reflected in the screen.
And a sequencing note: fix window position and ceiling-glare problems first — they’re free. Then add the task layer. Then the accent layer. Buying a premium light bar to compensate for a desk facing the wrong way never works.
Step-by-step guides
How to position a desk lamp correctly (no glare, no shadow)
The single most common desk-lamp failure is placement, not hardware. This takes five minutes with any adjustable lamp:
- Decide on your writing hand. If you write or take notes with your right hand, the lamp goes on your left side, and vice versa. This keeps your hand and pen out of the light path so you don’t work inside your own shadow — the most persistent, most unnoticed lighting problem on any desk.
- Aim the head past the screen, not at it. Angle the lamp head so the hotspot lands on the desk surface in front of or beside the monitor — never so the bulb or a reflection is visible in the panel. Sit where you normally sit and turn the lamp on: if you can see the bulb mirrored in the screen, rotate the head away until you can’t.
- Keep the light below eye level. A lamp head at or above eye height sends light into your eyes across the desk. Lower the head so the light arrives at the desk and your papers, not your face — you want to see the lit surface, not the source.
- Check the shadow test. Put a piece of paper on the desk and set your keyboard-side hand flat on it. You want an even pool of light with no hard shadow. A hard edge means the head is too close or too steep — pull it back or soften the angle.
- Set the temperature and level to the time of day. If the lamp is tunable: cooler (around 4000K–5000K) and brighter during the working day, warmer (2700K–3000K) and dimmer for evening sessions. If it’s not tunable, note that as the constraint when you eventually upgrade.
- Re-check after moving anything. New monitor, new desk position, new season’s sun angle — any of these changes your glare geometry. Run step 2 again whenever the room changes.
The same logic applies to monitor light bars, with the mounting doing steps 2–3 for you: the asymmetric optics throw light onto the desk while keeping the panel dark, which is exactly the balance you’re fine-tuning by hand with an adjustable lamp.
Related comparisons and reviews
The equipment decision this page raises most often — monitor light bar vs desk lamp — is getting its own full comparison page in this sub-hub, covering glare behavior, desk real estate, curved-monitor compatibility, and where each one wins. When it publishes, it will link from the “Monitor light bars vs desk lamps” section above.
Other comparisons planned for this sub-hub: best monitor light bar alternatives to BenQ, and desk lamp picks for small desks. The parent ho

Frequently asked questions
What should I know about home office lighting?
Start with balance rather than brightness. The goal is a screen and a surrounding room at roughly similar brightness, a main light positioned in front of or above the screen (never behind you), and a color temperature that shifts — cooler, daylight-style light during the working day, warmer light after sunset. A three-layer setup handles it: ambient light for the room, task light for the desk, and a modest accent light to keep the background behind you from going black. Most problems people blame on “bad eyes” or “bad webcams” are actually a missing layer.
How do I choose the right home office lighting?
Diagnose your symptom first. Eye strain by mid-afternoon usually means you need task lighting plus a bias light behind the monitor to reduce the screen-to-wall contrast. Looking bad on video calls means you need a soft light in front of you at face height. Daytime drowsiness in a dim room means more ambient light and a cooler temperature setting during work hours. When buying, prioritize a dimmer and tunable color temperature (roughly 2700K–6500K) over raw brightness, since your needs differ between 9 a.m. and 9 p.m. Fix window position and free positional issues before spending money.
What are the common mistakes with home office lighting?
The big ones: sitting with a window directly behind you (screen glare plus a backlit webcam image); relying on a single bright lamp in an otherwise dark room, which forces your eyes to constantly adapt between the bright screen and dark surroundings; pointing a task light at the screen instead of the desk, creating reflections; placing a lamp where it casts a shadow from your writing hand; and running one fixed, cool, bright light all day and night, which is wrong for both work sessions and evenings. Nearly all of these are positioning and settings mistakes — fixable before buying anything new.
Written by the The Remote Innovator team — one remote worker, ten-plus years fully remote, sharing what actually holds up.